
{From the 2024 Home & Lifestyle Magazine}
Well friends, clients & clients-to-be, and all in between... I’ve just experienced my own renovation and have learned so much that I thought that an interior designer’s inside scope on RENO TIPS would be very helpful! Buckle up! We were great campers, I mean tent and all, and used those skills to survive a first-floor renovation... that includes the big room, the center of life… THE KITCHEN!
It was time, we had lived in our home for 25 years, raised three boys... yes, rough, tumbly, energetic and all athletes. Needless to say, the house needed a severe overhaul! We built our home long before I went back to school to hone my skills as a designer. At the time of construction, I knew enough to make some basic changes to our cookie cutter home that made all the difference once it was complete. So, here we were, diving into this project and we decided that after years of occupying office space downtown, it was time to set up shop permanently at home, with a design studio and all! The renovation would ultimately be the new CMC Design Studio LLC home... That story and the final reveal will have to wait until the Simply Saratoga H&G Issue... out on May 17th.
Be sure to follow me on Instagram @cmcdesignstudio for the big video reveal!
But this story is more about how we got there... How my family and I survived a renovation without killing each other over cooking, cleaning, and the basic needs of running a home. Ready for your own reno? Well then, let me get you starting in a sane and organized manner.
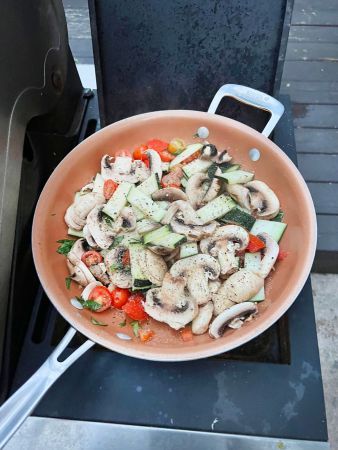
To begin with, we (this is not an “I” thing”) sat down and tried to reimagine what space we would have available to rework as a small kitchen, cleaning area and storage for kitchen items and food. We knew we could only keep the highly used pots and pans, basic cooking necessities (are 30 spices too many to be considered basic?) including utensils and gadgets (we couldn’t live without our garlic press!!). It came down to necessity…what did we need to get by for the next few months before our first floor would be restored? Here are our BIG take aways from a personal home renovation experience:
1. Get a temperature controlled storage unit lined up well in advance. The price is reasonable for a few months and ensures your processions won’t get damaged in any extreme heat or cold situations. The closer the better, too. Just in case you really need that something that got boxed up. And label, label, label those boxes for easy retrieval!
2. Move your existing refrigerator out to the garage: Work with your electrician or contractor to ensure that the outlet in your garage is sufficient to hold the electrical load of your current refrigerator. Make arrangements with a moving company, family or friends to get your existing refrigerator into the garage... This is where those three strapping boys came in handy!
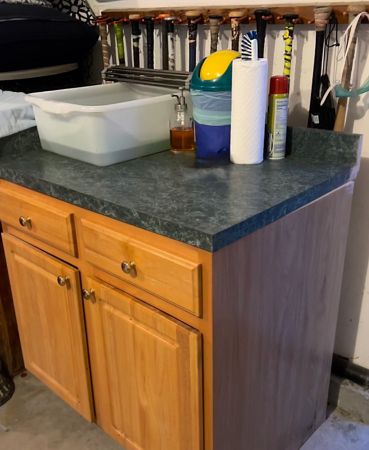
3. Set up a storage and cleaning station in an alternative area: Review your existing base cabinets to see if there is a section that could be moved to your garage to house simple pots, pans and a clean-up area. Granted, we began our renovation in the summer, so an outdoor kitchen was easy-peasy. Many people clean their dishes in a shower or tub…we are messy cooks with lots of ingredients, I couldn’t afford to have my plumber at my house that often…
so outdoors we went…we called it glamping!
4. For a sink in the garage, atop our relocated base cabinet and a portion of the old countertop, we ordered a restaurant bus tub online. Trust me on this, get one that’s around 22”L x 16”W x 7”H, nominal measurements. Anything smaller than that and you’re cleaning in a cereal bowl! My husband was in charge of dumping the “sink” each night in the rear yard, my hero!
5. For the coffee, a do-or-die in our house, we borrowed an outdoor console table from the patio and created a simple prep area…coffee maker, microwave and butter (oh yes, butter is my honey’s big-ticket item!...you are best to know yours!) All were relocated to our sunroom, including the “family room” for ease of use as this room was not under renovation.
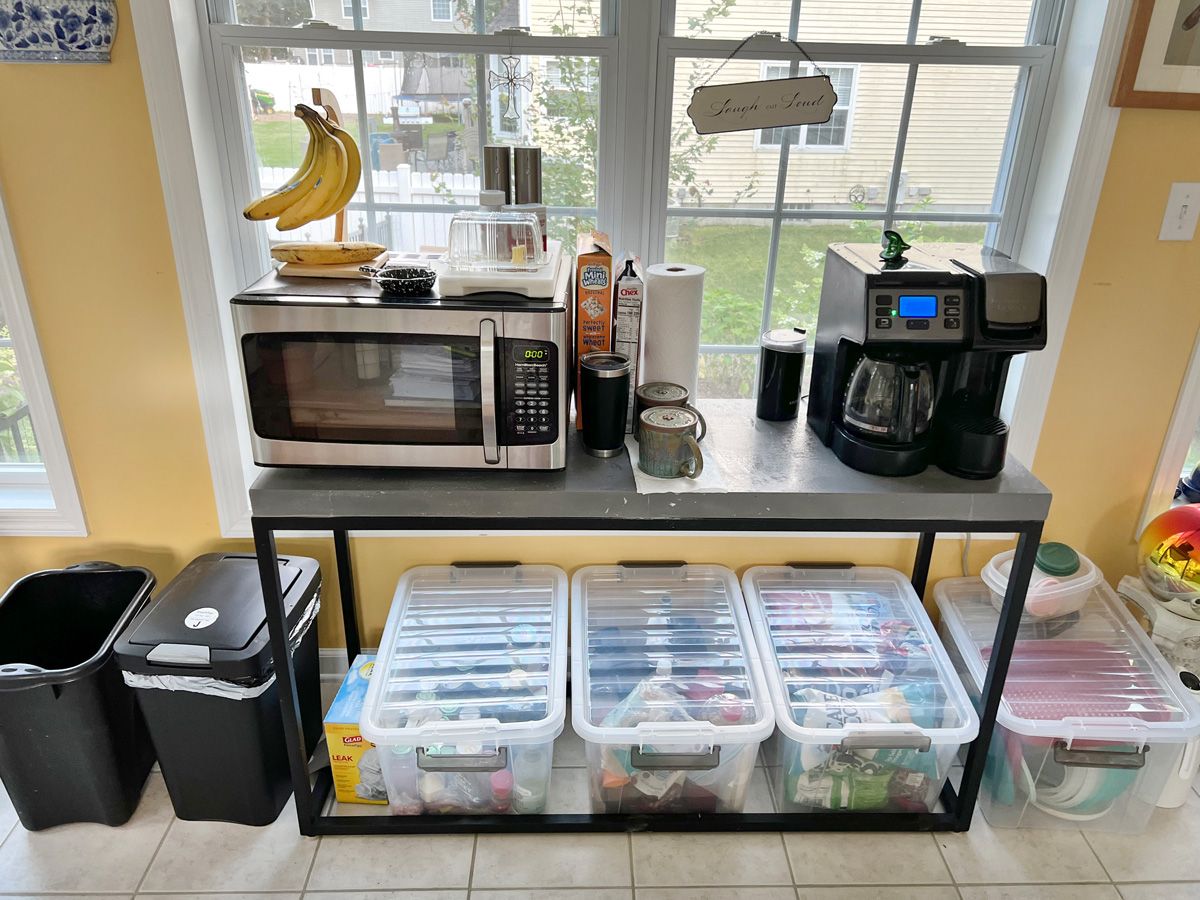
6. Storage: Our outdoor console table was open at the bottom so we were able to house decent sized bins very neatly there. We categorized each bin as such:
Bin 1: spices and oils… yes, I kept all 30 seasonings.
Bin 2: kitchen high use gadgets such as garlic press, can opener, submersion blender, coffee and filters,
popcorn kernels (we only pop fresh), and rolls.
Bin 3: Chips, cookies and treats
Bin 4: Tupperware and storage containers
7. Cooking: Here are a few of our go to cooking stations...
Grill: We grill all year round, but with the renovation, we actually discovered new recipes and techniques to have a more diverse dining experience. And we actually used that side burner to fry eggs, boil rice and sauté scallops!
Portable Hot Plate or Single Induction Cooktop: Both work famously and offer a great back up for rainy days or simply popping popcorn!
Countertop Convection/Air fry Oven: This was beyond priceless! We made sure the one we bought would fit a frozen pizza. These days, you can pick one up for around $150-$200. Be sure to note if it comes with baking sheets or not. We did discover that our garage and sunroom shared the same breaker so we had to be strategic about when each cooking devise was in use. Occasionally, we just brought the small oven into the barren kitchen space. I got used to not being so picky and more practical!
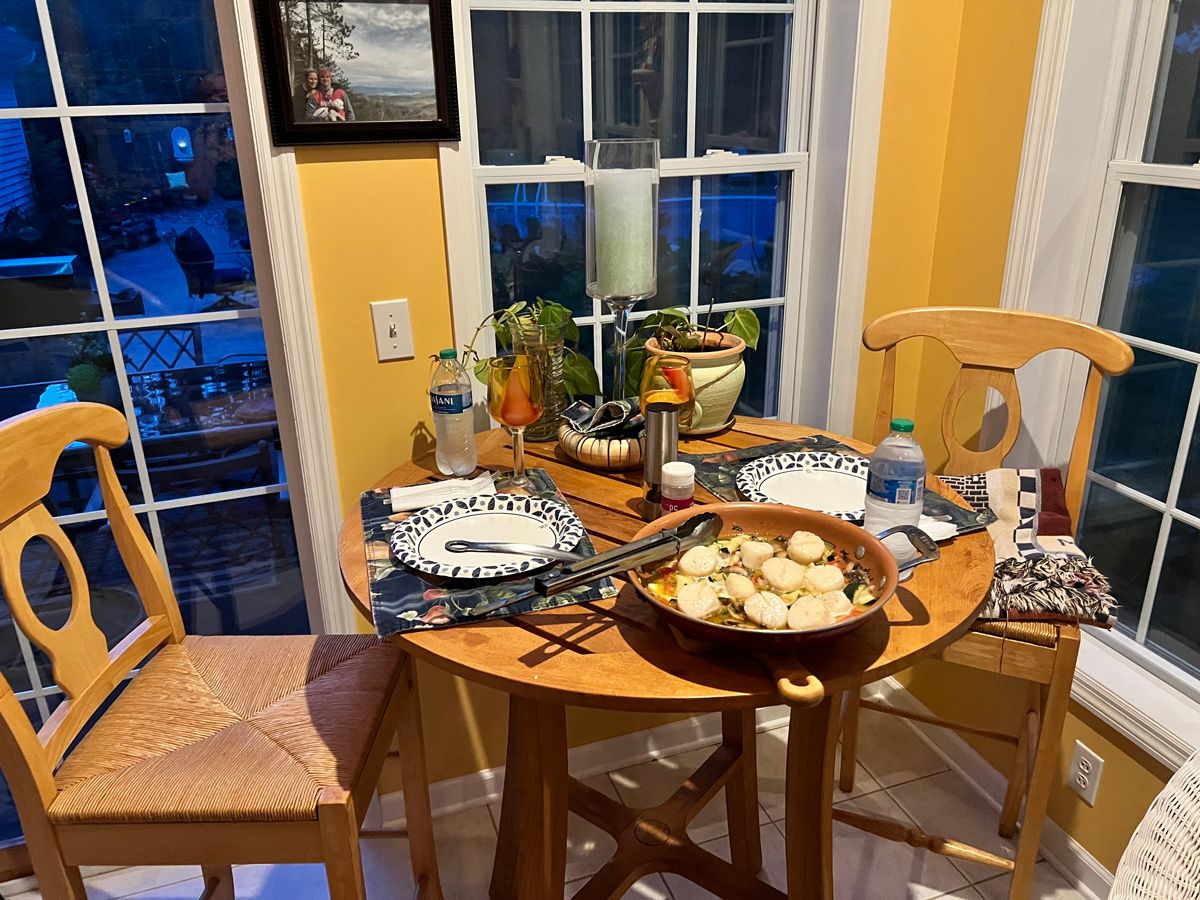
8. Where to eat: Set up a small dining area, even if it’s card table with folding chairs. Having a regular place to eat keeps your dining experience “normal.”
9. Paper plates, bowls and plastic silverware, oh my!
I’m all about recycling but when we were renovating, disposable dishes and silverware were invaluable! These were stored in a section of our pool towel cubbies in the mudroom, just inside the garage. Necessity is the mother of invention!
10. A Positive Attitude in Meager Surroundings: So, this was our new work triangle…garage for frig and pots, utensils and food prep with clean up to follow. Yes, my husband keeps his garage spit spot! With the grill just outside our back door, we had quite the summer kitchen! We often ate outside or in the sunroom for meals. We were quite impressed at the meals we could still whip up without a full kitchen. It’s all in your attitude…we made it a fun glamping experience!
If we can survive, you can too! And the best part… when that new kitchen is installed, it feels as if someone gave you a piece of heaven. So, dive in, have fun, and learn some new survival skills along the way. And if push comes to shove, heck…we have lots of great restaurants in Saratoga to choose from!
Until next time my friends,
Colleen Coleman of CMC Design Studio LLC
AKBD, CAPS & True Color Expert
@cmcdesignstudiollc
“Creating Environments for Life” TM